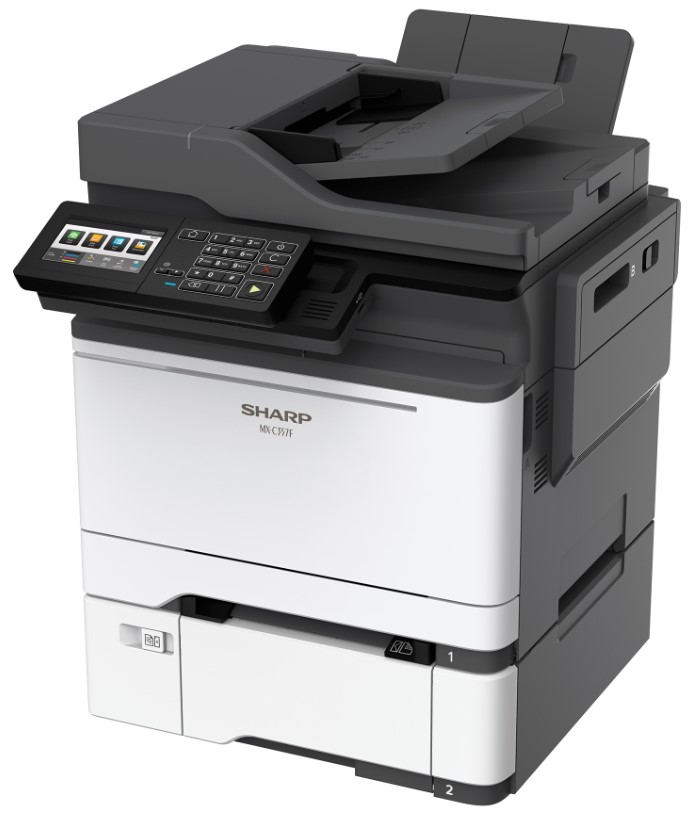
Sharp MX-M6051 Driver & Software for Windows and Mac – The Sharp MX-M6051 is a high-performance multifunction printer that combines robust functionality, advanced technology, and exceptional print quality. With its intuitive design and extensive range of features, this device is engineered to meet the demanding requirements of modern office environments. From small businesses to large enterprises, the Sharp MX-M6051 offers a versatile solution for all your document management needs.
Here are the key technical specifications of the Sharp MX-M6051:
- Print Speed: Up to 60 pages per minute
- Print Resolution: 1200 x 1200 dpi
- Paper Sizes: A3, A4, A5, B4, B5, legal, letter, executive
- Paper Capacity: Standard 1,100 sheets (expandable up to 6,600 sheets)
- Duplex Scanning Speed: Up to 200 images per minute
- Scan Resolution: Up to 600 dpi

Sharp MX-M6051
Sharp MX-M6051 Driver & Downloads
[ Download ] ↔ Sharp MX-M6051 Driver Windows 64-bit
[ Download ] ↔ Sharp MX-M6051 Driver Windows 32-bit
[ Download ] ↔ Sharp MX-M6051 Scanner Driver Windows
[ Download ] ↔ Sharp MX-M6051 Driver Mac
Sharp MX-M6051 Printer Driver Download ↔ Sharp Official Site
Install Sharp MX-M6051 Driver for Windows
- Locate the downloaded driver file and double-click on it to run the installer.
- Follow the on-screen instructions to proceed with the installation.
- Connect your printer to your computer using a USB cable or establish a network connection if your printer supports it.
- Once the printer is connected, the driver installation wizard should automatically detect the printer and prompt you to proceed with the installation.
- If the wizard does not launch automatically, go to “Control Panel” > “Devices and Printers” and click on “Add a Printer.” Select your printer from the list and follow the instructions to install the driver.
Install Sharp MX-M6051 Driver for Mac
- Run the installer by double-clicking on the downloaded file.
- Follow the on-screen instructions to install the driver.
- Connect your Sharp printer to your Mac using a USB cable or ensure that the printer is on the same network as your Mac.
- After the installation is complete, go to “System Preferences” > “Printers & Scanners.”
- Click the “+” button to add a new printer.
- Select your Sharp printer from the list and click “Add.”
- Configure the printer settings as needed.
Note: These are general steps, and the exact steps may vary depending on the specific model of your Sharp printer and the operating system version you are using.