Sharp MX-M3551 Driver for Windows and Mac – The Sharp MX-M3551 stands out as a powerhouse in the realm of office printing, combining cutting-edge technology with user-friendly features, seamless integration with modern technology, and commitment to precision making it a stand-out choice for businesses aiming to optimize their printing.
When it comes to productivity, the MX-M3551 doesn’t disappoint. Boasting high-speed printing capabilities of up to 35 pages per minute, this printer ensures that your office tasks are completed swiftly and efficiently. The intuitive touchscreen interface adds a user-friendly touch, making it easy for even the least tech-savvy team members to navigate through the various functions.
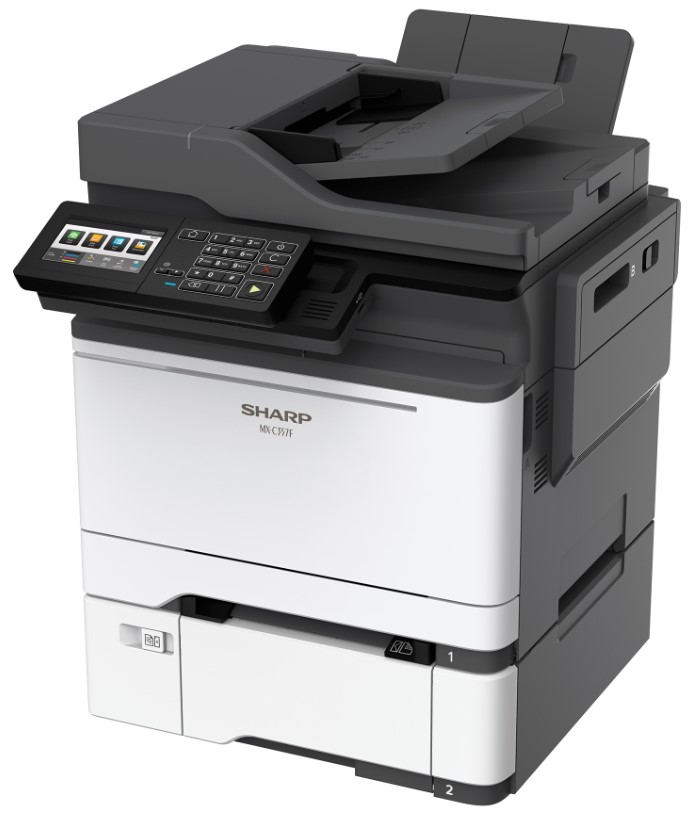
Sharp MX-M3551
Sharp MX-M3551 Driver & Downloads
[ Download ] ↔ Sharp MX-M3551 Driver Windows 64-bit
[ Download ] ↔ Sharp MX-M3551 Driver Windows 32-bit
[ Download ] ↔ Sharp MX-M3551 Scanner Driver Windows
[ Download ] ↔ Sharp MX-M3551 Driver Mac
Sharp MX-M3551 Printer Driver Download ↔ Sharp Official Site
Install Sharp MX-M3551 Driver for Windows
- Locate the downloaded driver file and double-click on it to run the installer.
- Follow the on-screen instructions to proceed with the installation.
- Connect your printer to your computer using a USB cable or establish a network connection if your printer supports it.
- Once the printer is connected, the driver installation wizard should automatically detect the printer and prompt you to proceed with the installation.
- If the wizard does not launch automatically, go to “Control Panel” > “Devices and Printers” and click on “Add a Printer.” Select your printer from the list and follow the instructions to install the driver.
Install Sharp MX-M3551 Driver for Mac
- Run the installer by double-clicking on the downloaded file.
- Follow the on-screen instructions to install the driver.
- Connect your Sharp printer to your Mac using a USB cable or ensure that the printer is on the same network as your Mac.
- After the installation is complete, go to “System Preferences” > “Printers & Scanners.”
- Click the “+” button to add a new printer.
- Select your Sharp printer from the list and click “Add.”
- Configure the printer settings as needed.
Note: These are general steps, and the exact steps may vary depending on the specific model of your Sharp printer and the operating system version you are using.