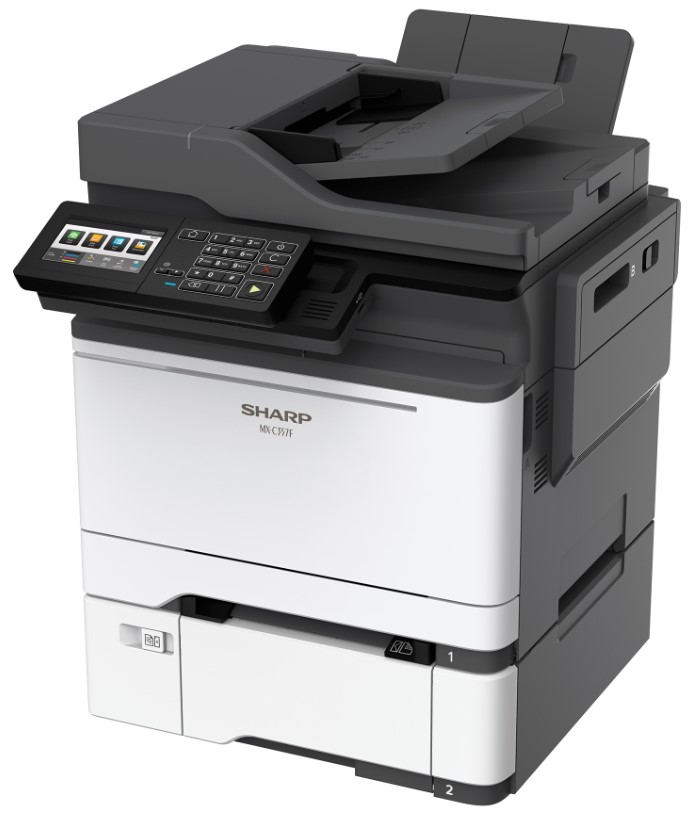
Sharp MX-4071 Driver for Windows and Mac – The Sharp MX-4071 is a versatile multifunction printer that combines printing, copying, scanning, and faxing capabilities in one powerful device. Packed with advanced features, this printer is designed to meet the demanding needs of modern office environments.
The MX-4071 boasts impressive printing speeds, making it an ideal choice for busy offices with high-volume printing requirements. Whether you need crisp black-and-white documents or vibrant color prints, this printer delivers consistent and fast results.
The MX-4071 goes beyond basic scanning, offering advanced features that streamline document management. Users can scan to email, network folders, USB drives, or even directly to popular cloud services. The built-in optical character recognition (OCR) ensures that scanned documents are editable and searchable.
Sharp MX-4071
Sharp MX-4071 Driver & Downloads
[ Download ] ↔ Sharp MX-4071 Driver Windows 64-bit
[ Download ] ↔ Sharp MX-4071 Driver Windows 32-bit
[ Download ] ↔ Sharp MX-4071 Scanner Driver Windows
[ Download ] ↔ Sharp MX-4071 Driver Mac
Sharp MX-4071 Printer Driver Download ↔ Sharp Official Site
Install Sharp MX-4071 Driver for Windows
- Locate the downloaded driver file and double-click on it to run the installer.
- Follow the on-screen instructions to proceed with the installation.
- Connect your printer to your computer using a USB cable or establish a network connection if your printer supports it.
- Once the printer is connected, the driver installation wizard should automatically detect the printer and prompt you to proceed with the installation.
- If the wizard does not launch automatically, go to “Control Panel” > “Devices and Printers” and click on “Add a Printer.” Select your printer from the list and follow the instructions to install the driver.
Install Sharp MX-4071 Driver for Mac
- Run the installer by double-clicking on the downloaded file.
- Follow the on-screen instructions to install the driver.
- Connect your Sharp printer to your Mac using a USB cable or ensure that the printer is on the same network as your Mac.
- After the installation is complete, go to “System Preferences” > “Printers & Scanners.”
- Click the “+” button to add a new printer.
- Select your Sharp printer from the list and click “Add.”
- Configure the printer settings as needed.
Note: These are general steps, and the exact steps may vary depending on the specific model of your Sharp printer and the operating system version you are using.