Sharp BP-30M31 Driver & Software for Windows, Mac – The Sharp BP-30M31 printer has been making waves in the market, promising high-quality printing and advanced features. The Sharp BP-30M31 boasts a sleek and compact design, making it suitable for various office settings. The robust build quality ensures durability, while its user-friendly interface makes it easy to operate. The intuitive control panel and a well-designed paper-handling system contribute to a seamless printing experience.
One of the standout features of the BP-30M31 is its impressive print quality. With high-resolution and precision printing technology, this printer delivers sharp text and vibrant graphics. Whether you’re printing documents, presentations, or photos, the BP-30M31 consistently produces professional-looking results.
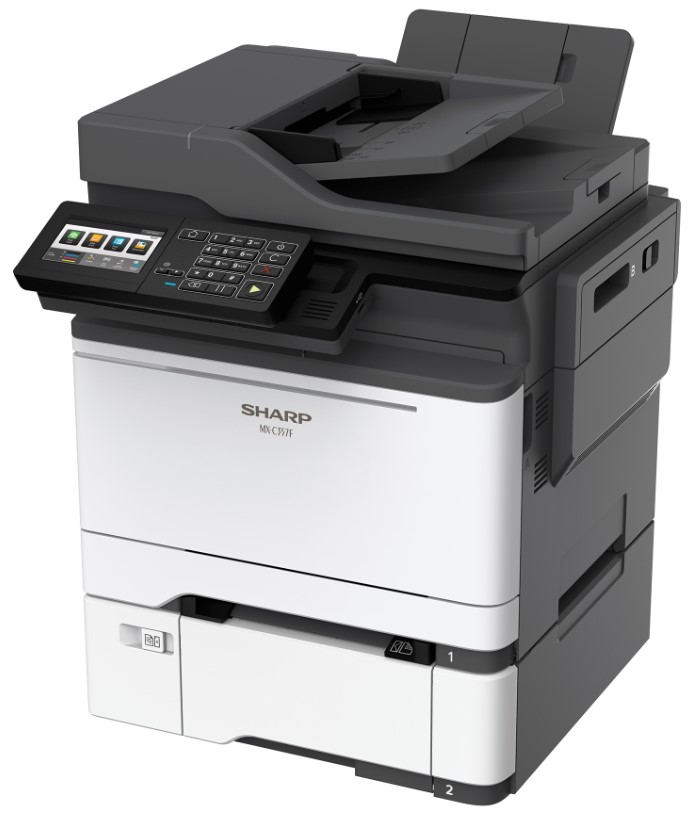
Sharp BP-30M31
Sharp BP-30M31 Driver & Downloads
[ Download ] ↔ Sharp BP-30M31 Driver Windows 64-bit
[ Download ] ↔ Sharp BP-30M31 Driver Windows 32-bit
[ Download ] ↔ Sharp BP-30M31 Driver Mac
Sharp BP-30M31 Printer Driver Download ↔ Sharp Official Site
Install Sharp BP-30M31 Driver for Windows
- Locate the downloaded driver file and double-click on it to run the installer.
- Follow the on-screen instructions to proceed with the installation.
- Connect your printer to your computer using a USB cable or establish a network connection if your printer supports it.
- Once the printer is connected, the driver installation wizard should automatically detect the printer and prompt you to proceed with the installation.
- If the wizard does not launch automatically, go to “Control Panel” > “Devices and Printers” and click on “Add a Printer.” Select your printer from the list and follow the instructions to install the driver.
Install Sharp BP-30M31 Driver for Mac
- Run the installer by double-clicking on the downloaded file.
- Follow the on-screen instructions to install the driver.
- Connect your Sharp printer to your Mac using a USB cable or ensure that the printer is on the same network as your Mac.
- After the installation is complete, go to “System Preferences” > “Printers & Scanners.”
- Click the “+” button to add a new printer.
- Select your Sharp printer from the list and click “Add.”
- Configure the printer settings as needed.
Note: These are general steps, and the exact steps may vary depending on the specific model of your Sharp printer and the operating system version you are using.